
To begin with, you’ll need to set up Lightroom. This tool is the go-to choice for many professional photographers, including those who work as a professional photographer, and bloggers, and for good reason! It’s not just a tool; it’s a ticket to a world of creative freedom where you can edit photos in RAW format, making your images pop like never before.
Wondering how to begin? Simply sign up for Adobe Lightroom via the Creative Cloud app. A monthly subscription of $9.99 gives you access to Lightroom, Adobe Lightroom Classic, and even Photoshop on desktop and iPad.
But wait, what’s the difference between Lightroom and Lightroom Classic? While both are great at editing photos, Lightroom is all about cloud-based editing and sharing, while Lightroom Classic focuses on desktop-based editing and organizing photos in folders.
Importing Your Photos into Lightroom
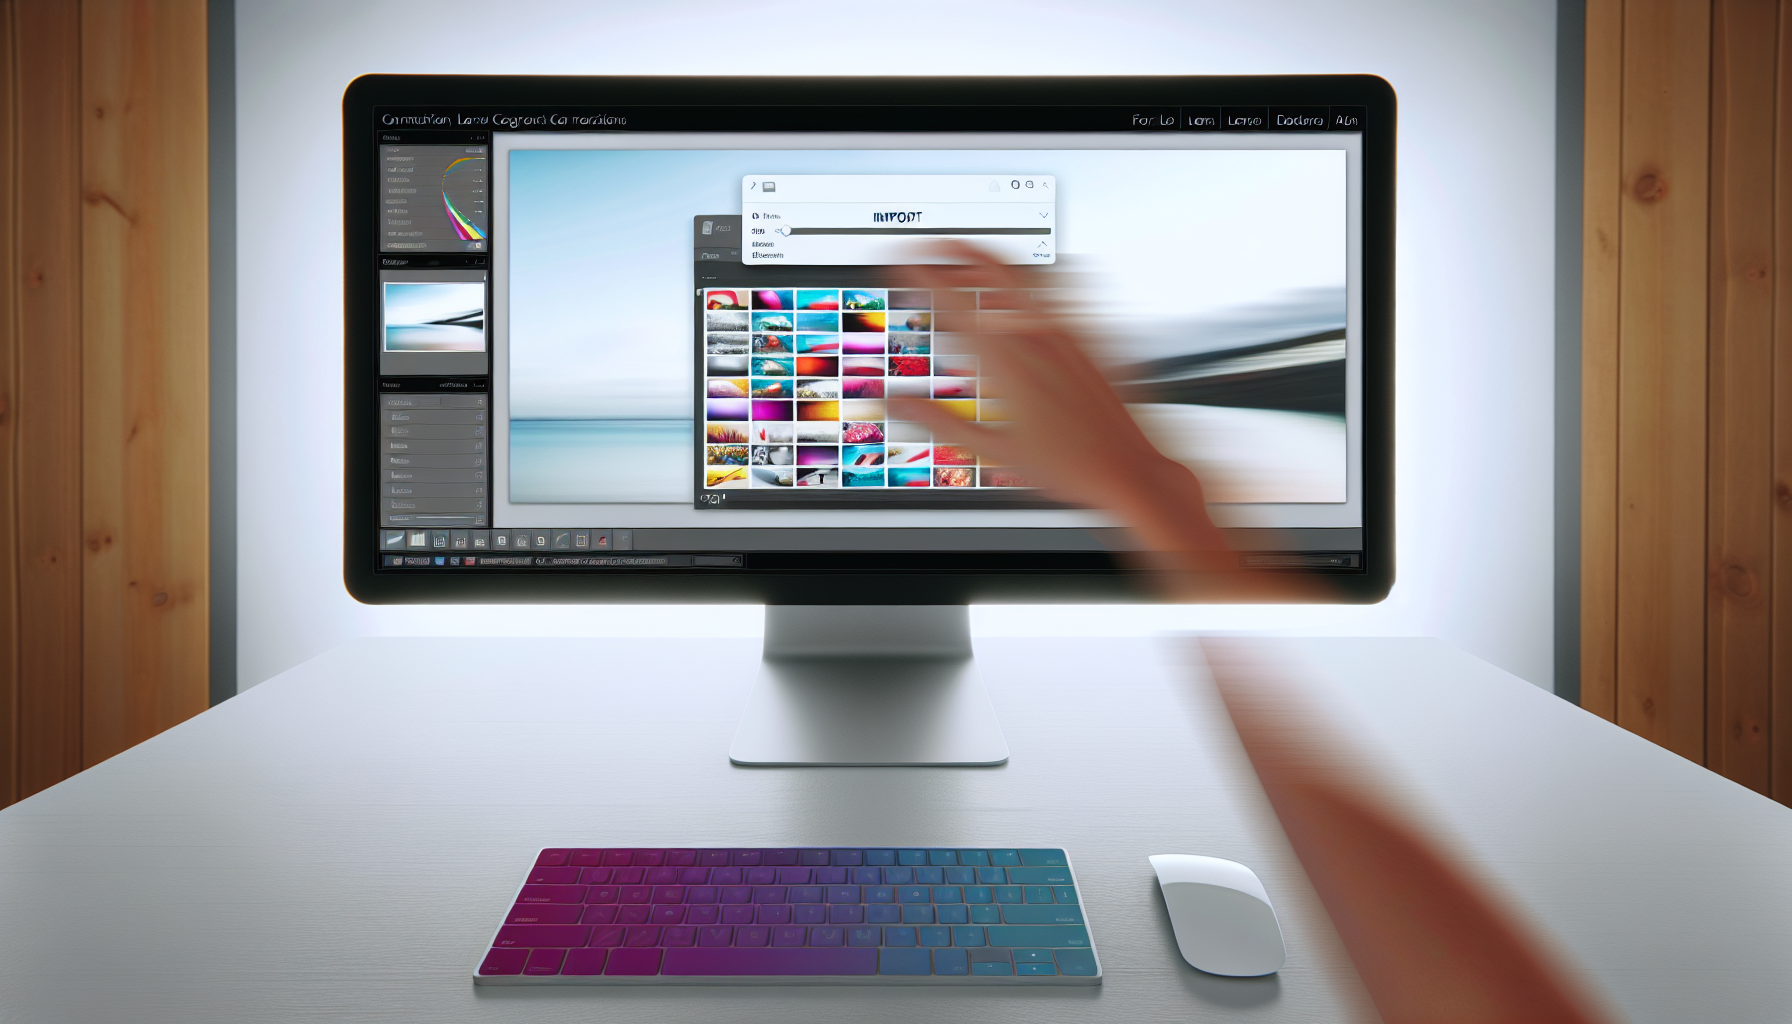
With your setup complete, you can start importing your photos into Lightroom. This is the first step in your editing process and it’s as easy as pie! There are several methods to import images into Lightroom, whether it’s from your camera, memory card, or even a specific folder on your computer.
If you’re using Lightroom Classic, you can simply click the import button or navigate to File > Import Photos and Video. Once you’ve selected your photos, click import and voila! Your images are ready to be transformed. Now that your photos are in Lightroom, you can proceed to the thrilling part – executing basic adjustments!
Basic Adjustments for Quick and Easy Edits
Basic adjustments form the bedrock of photo editing. This is where you start to transform your images, bringing out their best features. Lightroom offers several sliders for quick improvements, such as:
Exposure
Contrast
Highlights
Shadows
You might wonder how these work. Allow me to explain each of them in detail.
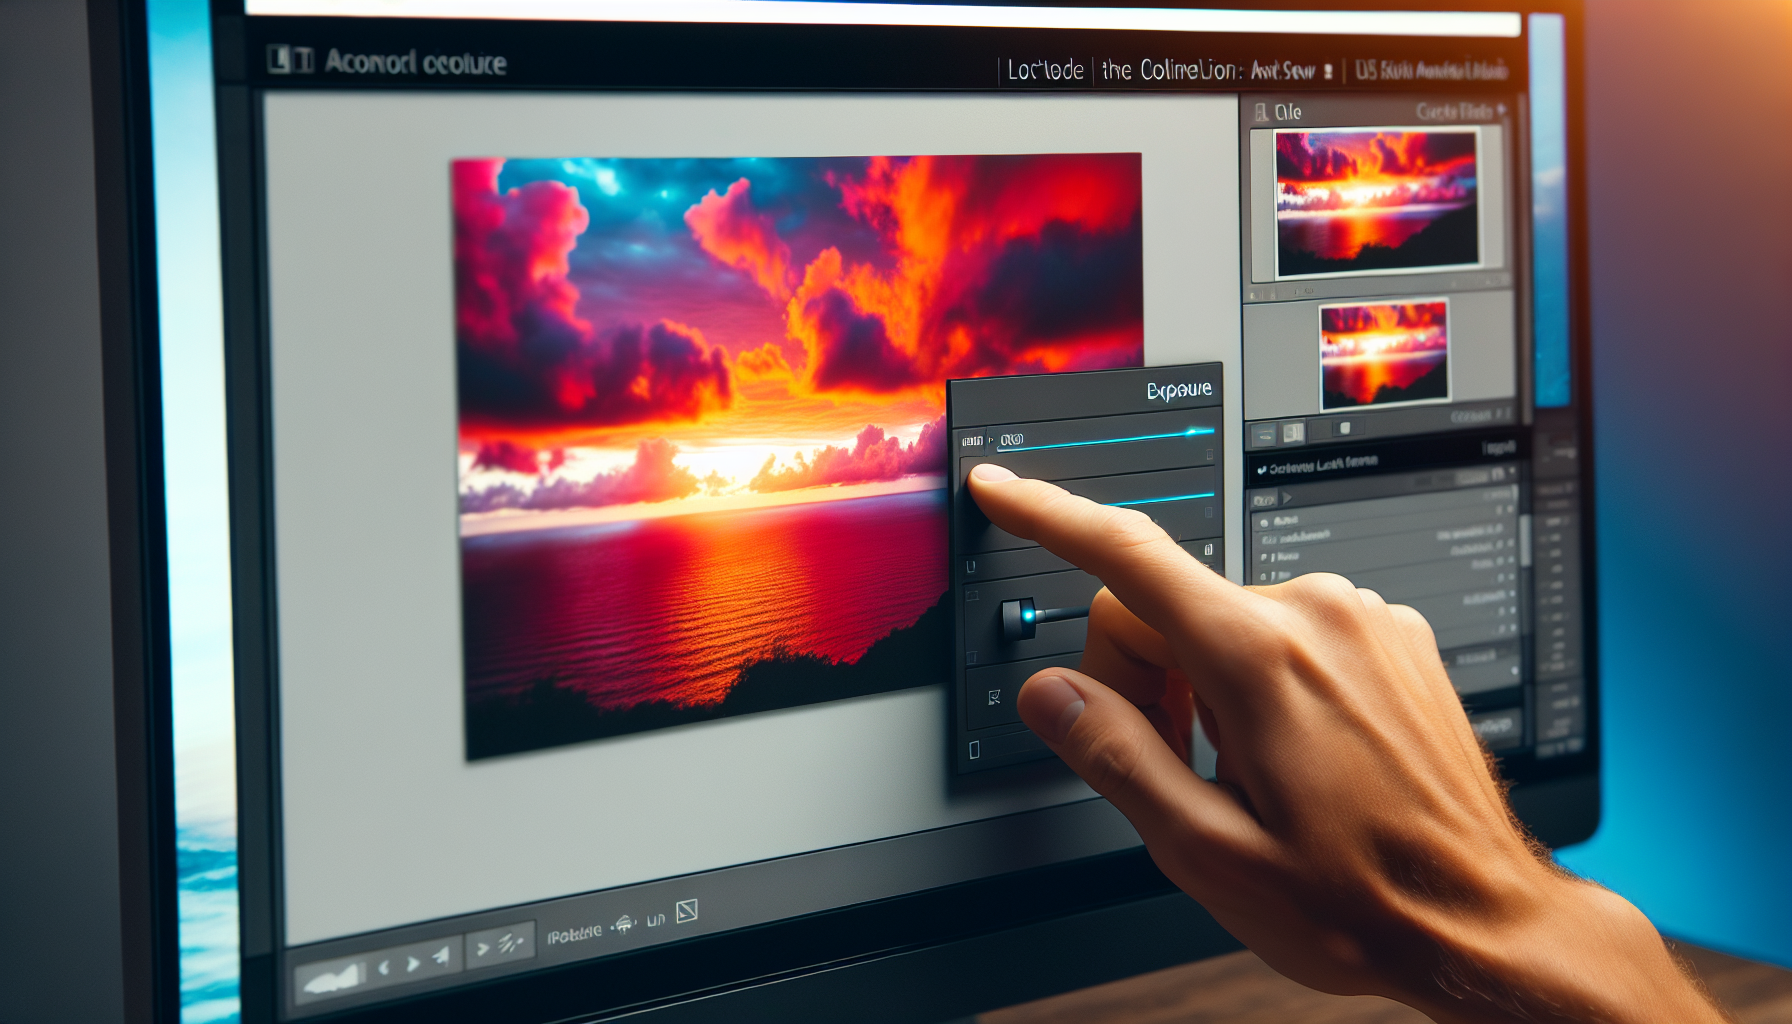
Exposure Slider
The exposure slider is your go-to tool for brightening or darkening your photos. It’s like turning up the brightness on your phone screen, but with more control. Ideally, you’d want to keep the exposure slider in the range of +.5 to +1.0 for most photos, unless the photo is extremely dark.
When you adjust the exposure, you’re changing the overall brightness of the photo. This can really make skin tones pop and give your photo a fresher, brighter look. But remember, the exposure slider doesn’t work alone. It teams up with other sliders like:
Highlights
Shadows
Whites
Blacks
to tweak different tones in your photo, so you can fine-tune specific areas of the image.
Contrast Slider
Next up, the contrast slider. This tool is all about adding depth and dimension to your photos, making them pop with a more dramatic effect. By adjusting the contrast slider, you’re making the dark areas darker and the light areas lighter, adding a dash of drama to your image.
However, less is more when it comes to adjusting the contrast. Going overboard can lead to a loss of detail in the shadows and highlights, making your image look harsh. So, to keep your image from looking wonky, start by reducing the contrast, then tweak the exposure to fine-tune the overall brightness.
Highlights and Shadows Sliders
The highlights and shadows sliders are your best friends when it comes to balancing the light and dark areas of a photo. These sliders let you brighten or darken the brightest and darkest parts of an image, giving you that perfectly balanced, good-looking result. Using these sliders, you can bring out lost details in bright areas and highlight hidden details in darker parts, improving the overall image quality.
But remember, moderation is key. Use these sliders wisely, without relying on them too much, and try using other editing tools like Exposure, Contrast, and the Tone Curve to achieve the look you want.
Perfecting Composition with Crop and Straighten Tools
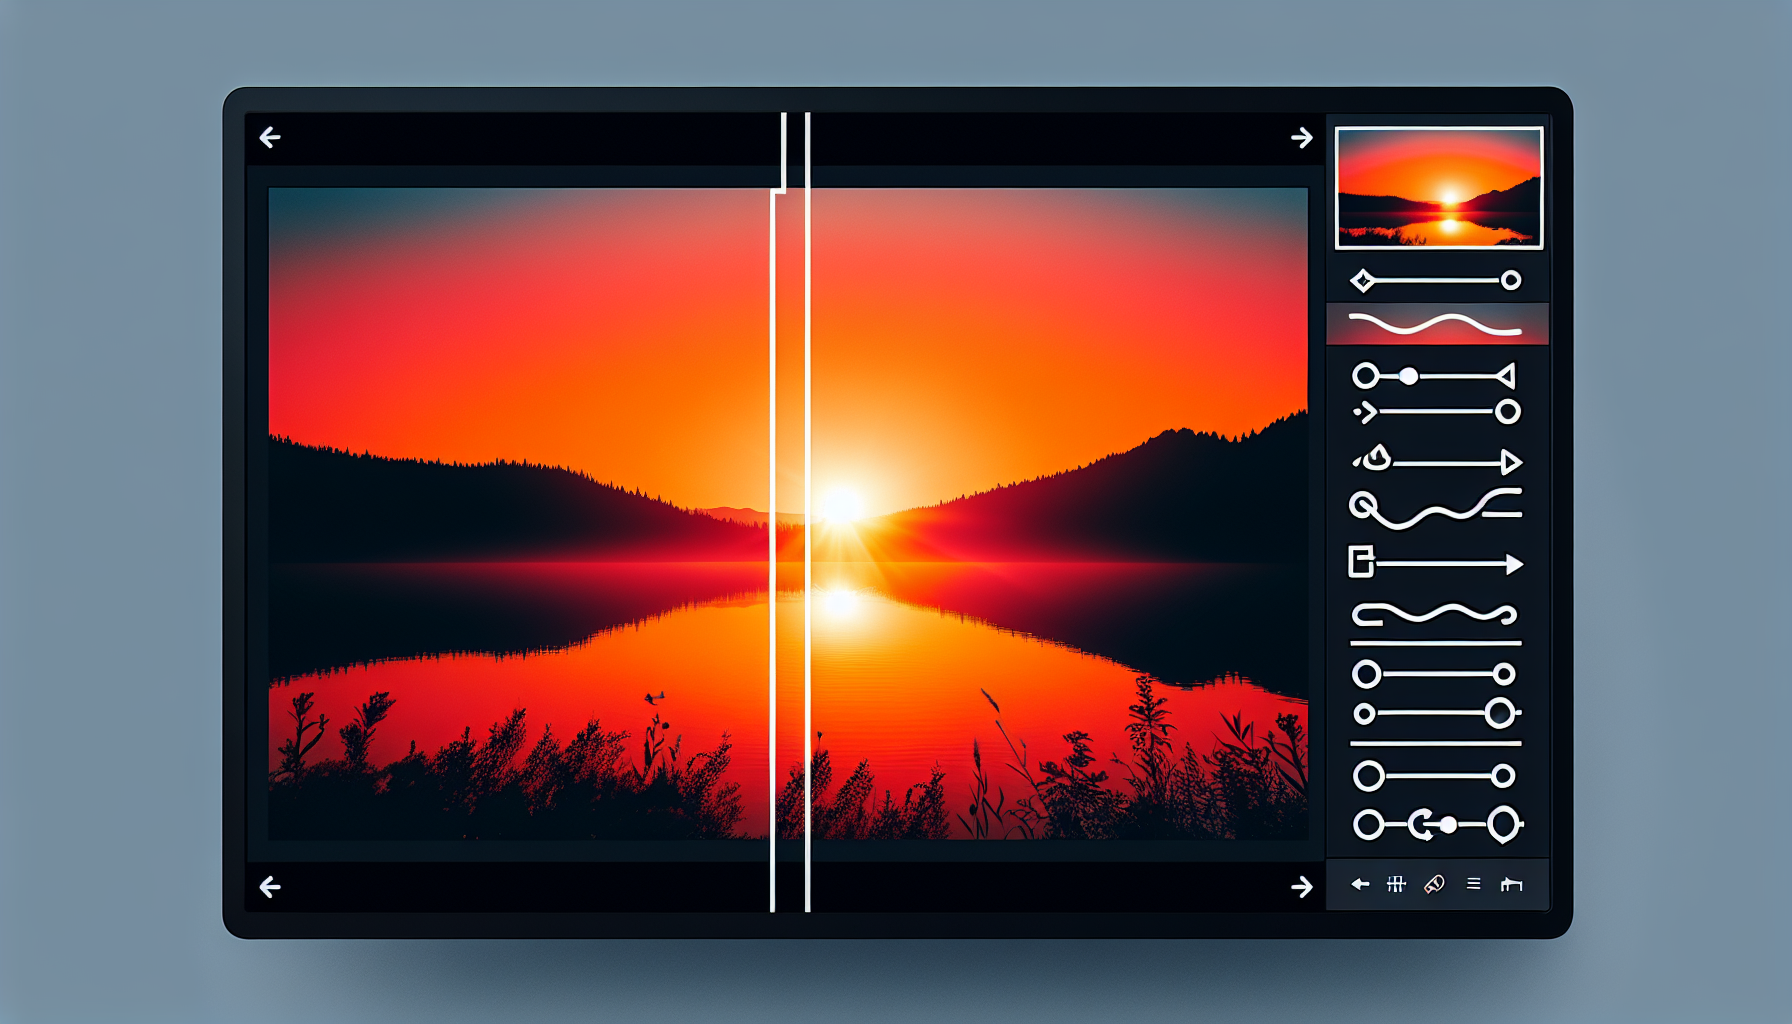
Having covered basic adjustments, we can now focus on refining your photo’s composition. Lightroom offers two invaluable tools to achieve this: Crop and Straighten. These tools help you improve your photo’s layout and overall appearance, ensuring that every element is in the right place.
The crop tool comes with composition guides to help you set your preferred aspect ratio, eliminate distractions, and position subjects effectively. On the other hand, the straighten tool allows you to align your photo to a reference point for perfect balance. Remember, the aim is to draw the viewer’s eye to the subject of your photo, and these tools are your allies in creating that perfect composition.
Enhancing Colors and White Balance
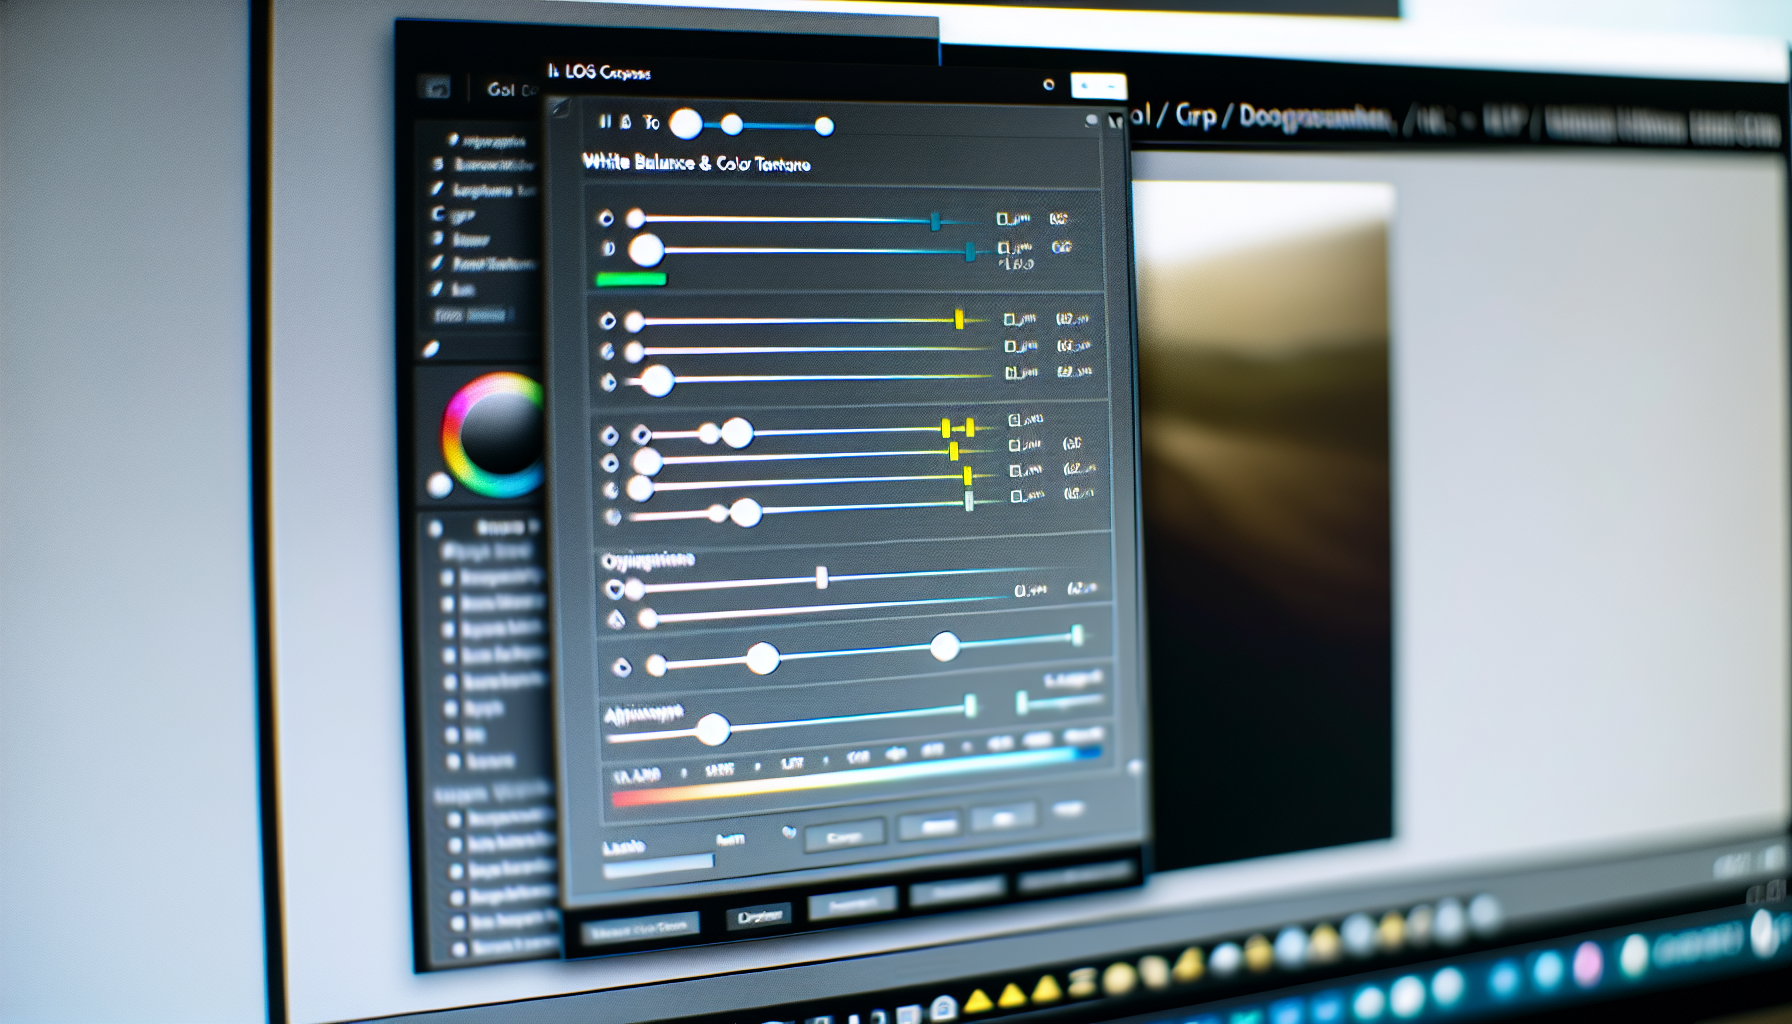
Color is a fundamental aspect of any photo. It sets the mood, highlights key elements, and brings your images to life. Lightroom provides numerous sliders to adjust color, including:
Temperature
Tint
Vibrance
Saturation
HSL panel
Let’s explore how these tools can help you create visually striking images using the develop module, while also efficiently organizing your work with the library module.
Temperature and Tint Sliders
First off, the temperature and tint sliders. These tools allow you to correct color balance and achieve the desired mood in your photos. The temperature slider lets you tweak the warmth or coolness of the photo, transforming the overall vibe by adding warm or cool tones.
On the other hand, the tint slider adds a greenish or pinkish tint to your photo, fine-tuning the white balance even more than the temperature slider on its own. By adjusting these sliders, you can ensure the colors in your photos look just right, capturing the mood and atmosphere perfectly.
Vibrance and Saturation Sliders
Now, let’s talk about vibrance and saturation. Both of these sliders play a crucial role in color enhancement, but they do so in slightly different ways. The saturation slider increases the intensity of all colors in the image uniformly, while the vibrance slider boosts less-saturated colors, making your photos pop without going overboard.
When using these sliders, start with the vibrance slider to give your less dominant colors a little pop. Then, use the saturation slider to tweak the overall color intensity. But remember, too much saturation can make colors look unnatural, so use this slider judiciously.
HSL Panel
Finally, we’ll delve into the HSL panel. It stands for Hue, Saturation, and Luminance, and it gives you precise control over individual colors in your image. The Hue slider lets you tweak the color tones of certain hues in your image, allowing you to adjust a specific color to lean towards another color on the color wheel.
The Saturation slider lets you adjust the intensity of a specific color, while Luminance handles the brightness of the color. By manipulating these sliders, you can:
Adjust the saturation to make colors more vibrant or muted
Control the luminance to make colors brighter or darker
Achieve the perfect color balance in each image
Flex your creative muscles and experiment with different settings to enhance the colors in your photos.
Improving Image Clarity and Sharpness
With colors taken care of, our next focus is enhancing image clarity and sharpness. These elements are crucial in bringing out the texture and detail in your photos. In Lightroom, two sliders help achieve this: the Clarity and Sharpening sliders.
The Clarity slider boosts midtone contrast, adding structure to your image and creating the illusion of more detail. The Sharpening slider, on the other hand, enhances the photo’s apparent sharpness, making it seem more detailed. When used together, these sliders can truly transform your photo, making it look sharp and crisp.
Removing Lens Distortions and Chromatic Aberration
Despite having covered significant aspects, there’s still more to discover in photo editing. Our next focus will be on correcting lens distortions and chromatic aberration using Lightroom’s integrated tools.
Lens distortion can make straight lines appear curved or wonky in a photo, especially with wide-angle lenses. But don’t worry, Lightroom has got you covered. With the lens corrections tools under the ‘Develop’ tab or the ‘Optics’ module, you can correct these distortions and get your images looking just right.
Using Local Adjustment Tools for Precise Edits
On occasions, you may wish to easily edit photos by tweaking specific parts of a photo. That’s when local adjustment tools prove beneficial. Tools like the radial filter, brush, and spot edit tool allow for targeted edits and enhancements.
The brush tool, for example, is perfect when you need to make very specific adjustments in certain parts of a photo where other tools won’t cut it. These tools give you the freedom to fine-tune your photos and bring out the best in each part of your image, ensuring that every element shines.
Creating and Applying Presets for Consistent Style
Maintaining a consistent style while editing a series of photos can pose a challenge. Presets serve to overcome this hurdle. A preset is essentially a filter that you can apply to your photos, giving them a consistent vibe.
In Lightroom, creating a preset is as simple as going to the Presets Tab, hitting the + sign, and choosing “Create Preset.” You can even create presets in the Lightroom Mobile App by tapping the three dots at the top in the Presets tab, selecting ‘Create Preset’, giving it a new name, and then saving it.
Using presets can save you a lot of time and ensure a consistent look across all your photos.
Exporting and Sharing Your Edited Photos
After the diligent editing process, it’s finally time to showcase your masterpieces to the world! But how do you ensure your photos look just as good on other devices or in print? Lightroom offers several exporting options tailored for different purposes.
To protect your work when sharing online, follow these steps:
Choose ‘Copyright Only’ when saving your photos for the web.
If you want to add a watermark, use the Watermark Editor to create a custom text or graphic watermark with your own settings.
Apply the watermark to your photos before you share or export them.
By following these steps, you can ensure that your work is protected when shared online.
Summary
We’ve covered a lot of ground in this guide, from setting up Lightroom and importing photos to basic adjustments, color enhancements, and local adjustments. We’ve also learned about using presets for consistent styles and how to share our edited images safely.
The magic of Lightroom lies in its power to transform your photos with a few clicks and sliders. It’s not just about making your photos look good; it’s about giving them a unique touch that reflects your vision. So go ahead and explore the world of Lightroom. You’re now equipped with the knowledge to make your photos pop like never before!
Frequently Asked Questions
Is Lightroom good for editing photos?
Lightroom is great for organizing photos and making standard edits, while Photoshop is the go-to tool for more complex editing tasks. Whether you’re looking to manage thousands of images or do a deep dive into intricate image adjustments, Lightroom and Photoshop have you covered.
How do you edit a specific part of a picture in Lightroom?
To edit a specific part of a photo in Lightroom, select the Brush tool and paint over the area you want to adjust. Then, use the Brush panel sliders to make your changes.
Why can’t I edit photos in Lightroom?
It looks like you’re unable to edit photos in Lightroom because you don’t have the latest version of either Photoshop or Lightroom Classic, or both. If your photo is missing in Lightroom Classic, that could be another issue.
How to edit a photo in Lightroom?
Editing photos in Lightroom Classic is easy – select a photo in the Library module and use the Basic panel sliders to adjust brightness, detail and texture. Don’t forget to click Auto for a quick adjustment.
What’s the difference between Lightroom and Lightroom Classic?
Lightroom is cloud-based and great for editing and sharing photos, whereas Lightroom Classic is designed for desktop-based editing and folder organization.